
Thank you for your download.
Congratulations! You are minutes away from creating a branding kit for your business. Let’s walk through this together, step by step.
01 – Sign up for a free trial of Adobe Illustrator.
You will need Adobe Illustrator CC to create your logo. Sign up for an account here.
02 – Review your template folder.
The template folder that you just downloaded should contain the following files:

Color Guide
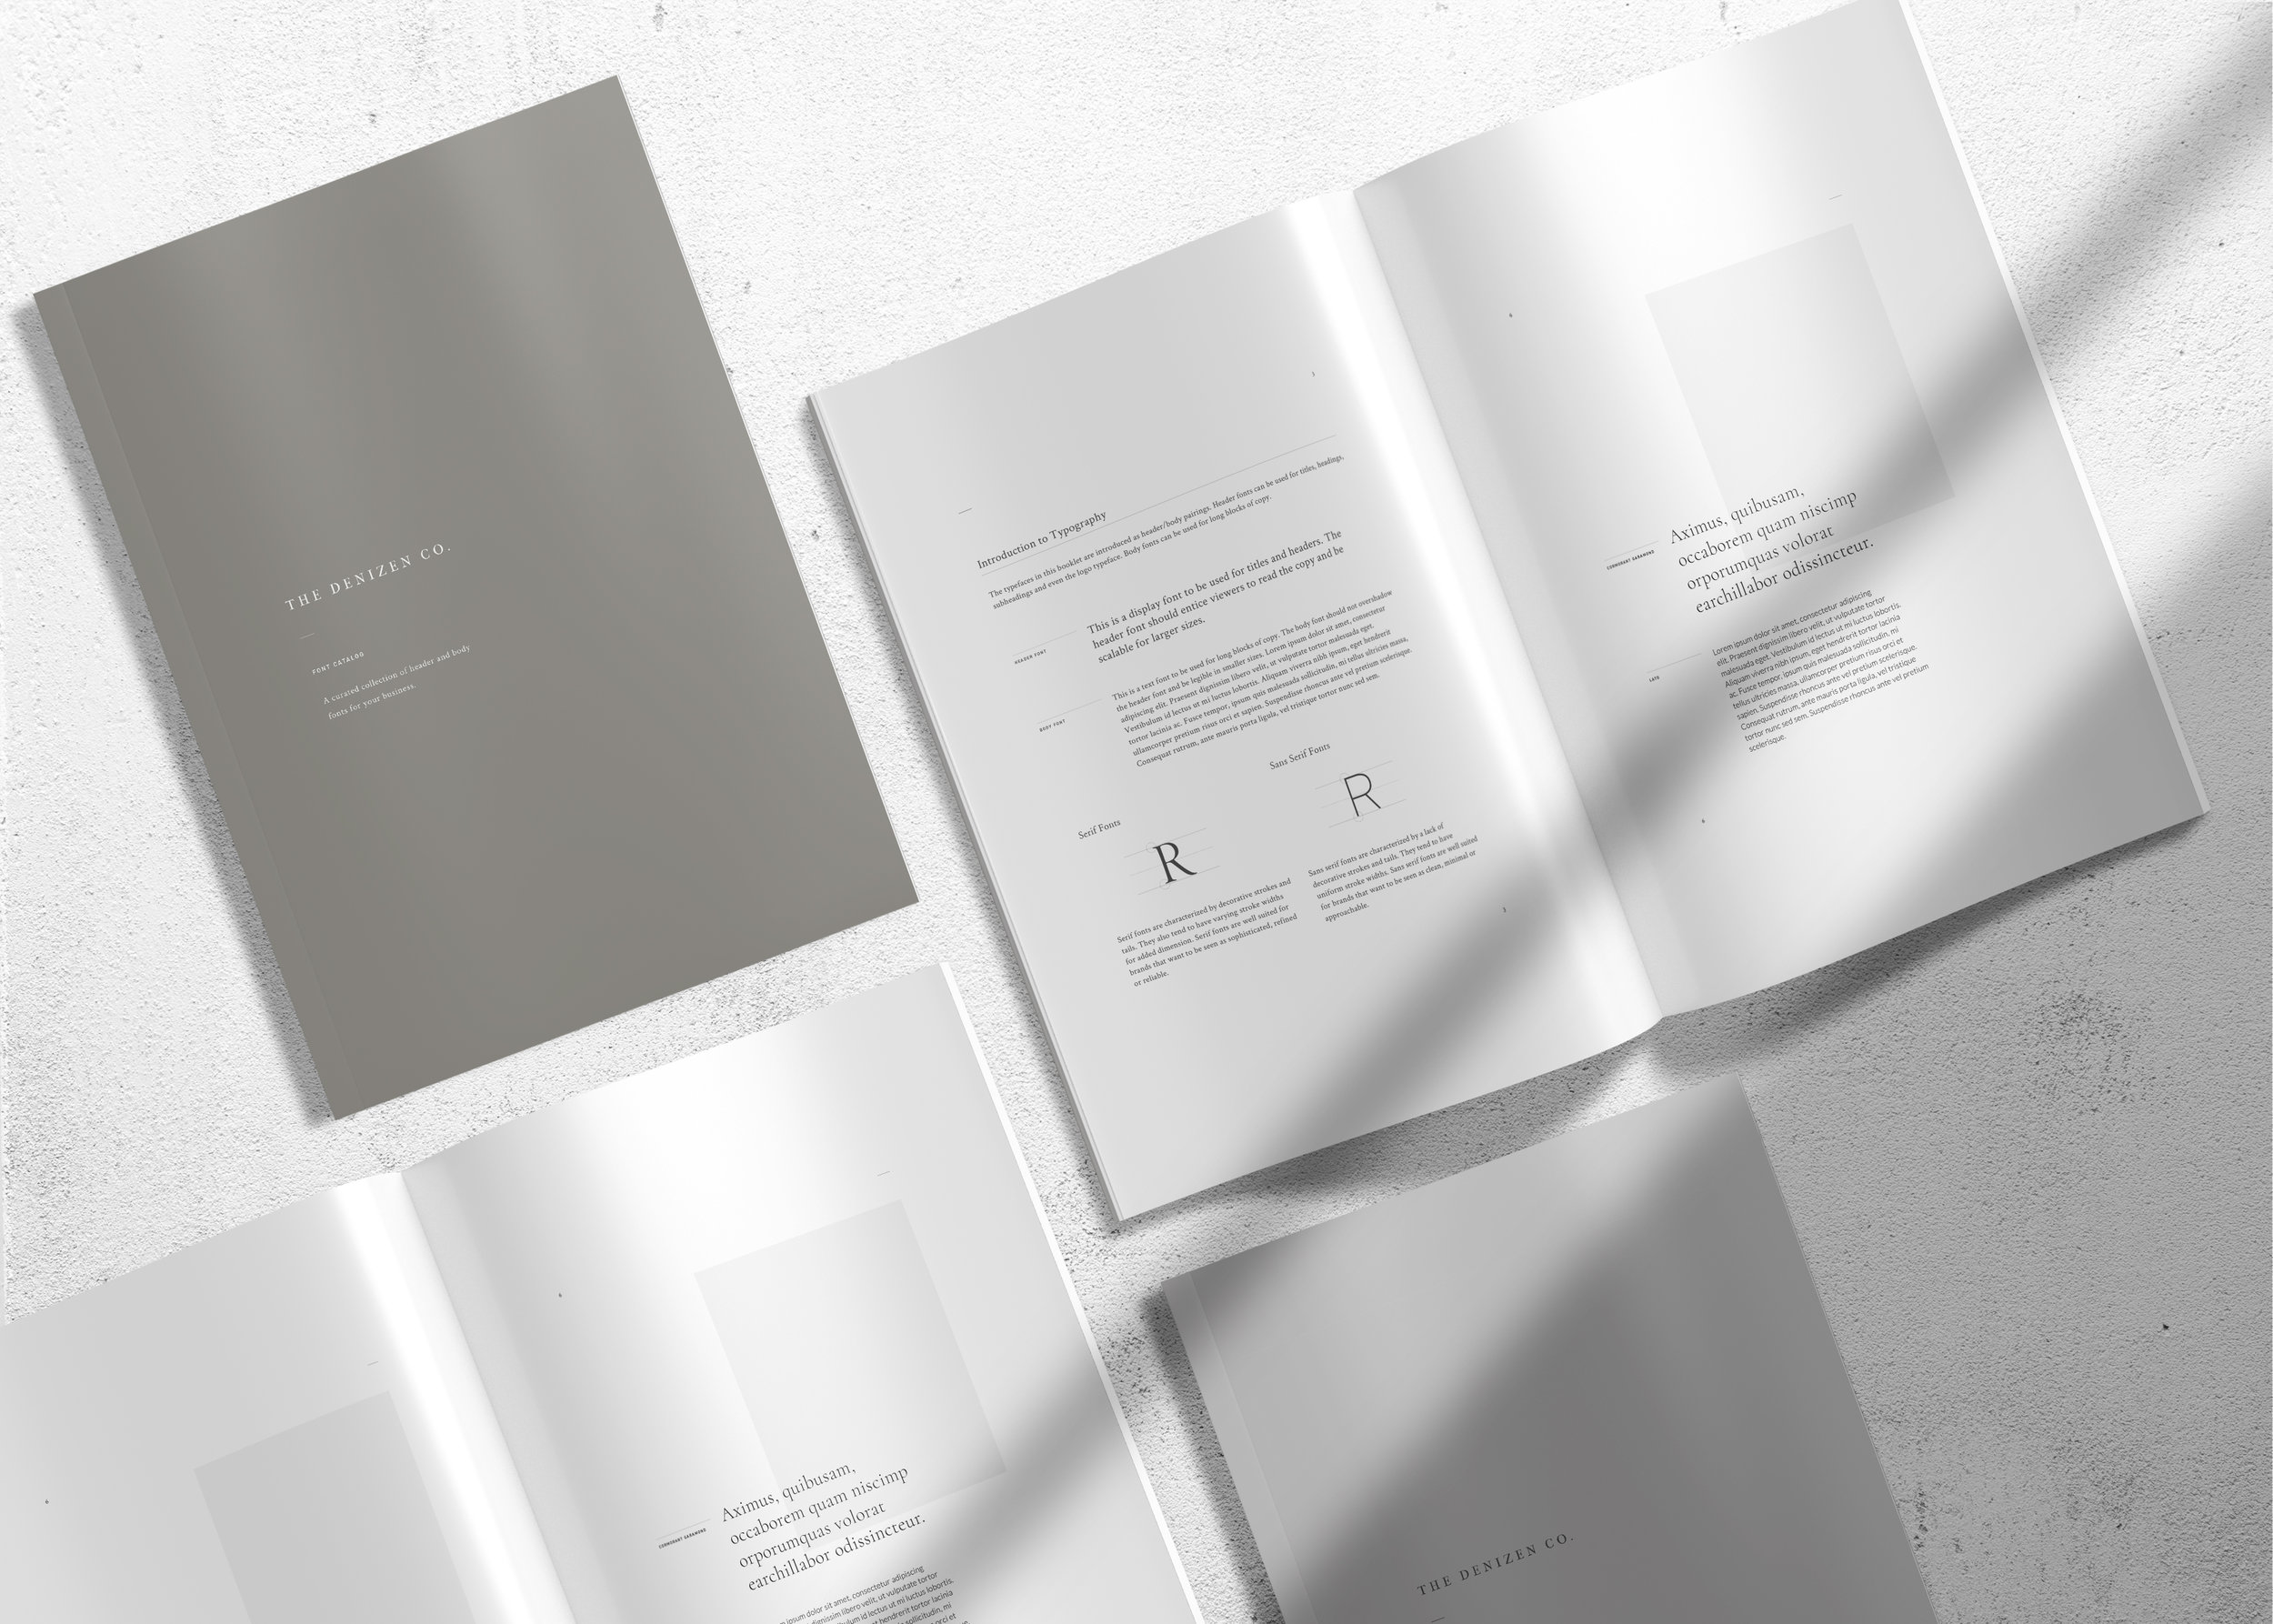
Font Catalog

Logo File

Style Guide
03 – Craft a pitch.
Download our worksheet below to craft a strong pitch that describes your brand.
04 – Choose your keywords.
Download our worksheet below to choose three keywords that resonate with your brand.
05 – Choose a palette.

Now, let’s choose a color palette that your audience associates with your brand.
Consult your Color Guide to choose a color palette that resonates with your keywords. We’ve named each of our color palettes to make them easier to identify.
Each of our color palettes comes with corresponding HEX codes. HEX codes are a useful way to specify colors on the web. Simply copy and paste the corresponding HEX codes into your web editor or design software to implement the colors immediately.
Questions to ask yourself:

Who is my audience?
Remember that your favorite color may not be the best choice here.

Is this practical?
Make sure your color story reflects your work settings.

Will this feel right in five years?
Don’t give in to color trends. Think in the long term.

Does this work with my physical space (if you have one)?
Remember, your space is a part of your brand.
06 – Choose your fonts.
Now, it’s time to choose a header and body font for your brand.
Consult your Font Catalog to choose a header font and body font for your brand. The header font will be used for your logo and headers, or prominent text. The body font will be used for the rest of your text.
The majority of our fonts can be downloaded for free via Google Fonts. We also have a small selection of fonts from Typekit, if you have an Adobe CC subscription.
Questions to ask yourself:

Who is my audience?
Remember that your favorite font may not be the best choice here.

What is my tone?
Choose a font that matches the tone of your writing.

How much copy will I have?
Volume of text may be a determining factor when choosing your font.

Do I want my headers to stand out?
Determine how much contrast you want between your header and body fonts.
07 – Create your logo.
Once you have downloaded your chosen fonts, open the Logo.ai file in your template folder, or click the button below. Watch this step-by-step video tutorial to create, customize, and package your logo file.
08 – Create your style guide.
Once you have your color story, typefaces and logo files, open the StyleGuide.ai file in your template folder, or click the button below. Watch this step-by-step video tutorial to create a style guide PDF that shows off all of your hard work.
We’d love to hear from you.
Have any questions regarding the branding kit? Email us at hello@thedenizenco.com.