Thank you for your download.
Congratulations! You are minutes away from installing these professionally calibrated Lightroom presets to streamline your photo editing process.


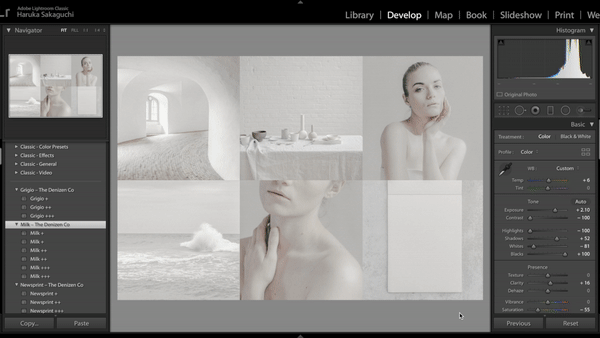
03 – Install your desktop presets.
If your version of Lightroom is 7.3 or later –

Open Lightroom. Click on the Develop module (located in the top right panel).

Click File > Import Develop Profiles and Presets or Import Profiles and Presets.
If neither of these options are available, click on the + sign next to your Presets panel to the left and click Import Presets.
If this option is not available, click on Lightroom in the top bar > Preferences > Show Lightroom Presets Folder > Camera Raw > Settings.

Locate the Desktop (Lightroom 7.3 and Later) folder in your download and select all of the .xmp files. Click Import.
If you selected the last option in the previous step, drag your files into the User Presets folder located in the Settings folder.

Your presets have been installed! Restart Lightroom and locate your new presets under the Presets panel on the left.
If your version of Lightroom is 7.2 or earlier –

Locate the Desktop (Lightroom 7.2 and Earlier) folder in your download and select all of the .lrtemplate files.

Right-click and select Open with > Other.

Select your Lightroom program (must be 7.2 and earlier).

Your presets have been installed! Restart Lightroom and locate your new presets under the Presets panel on the left.
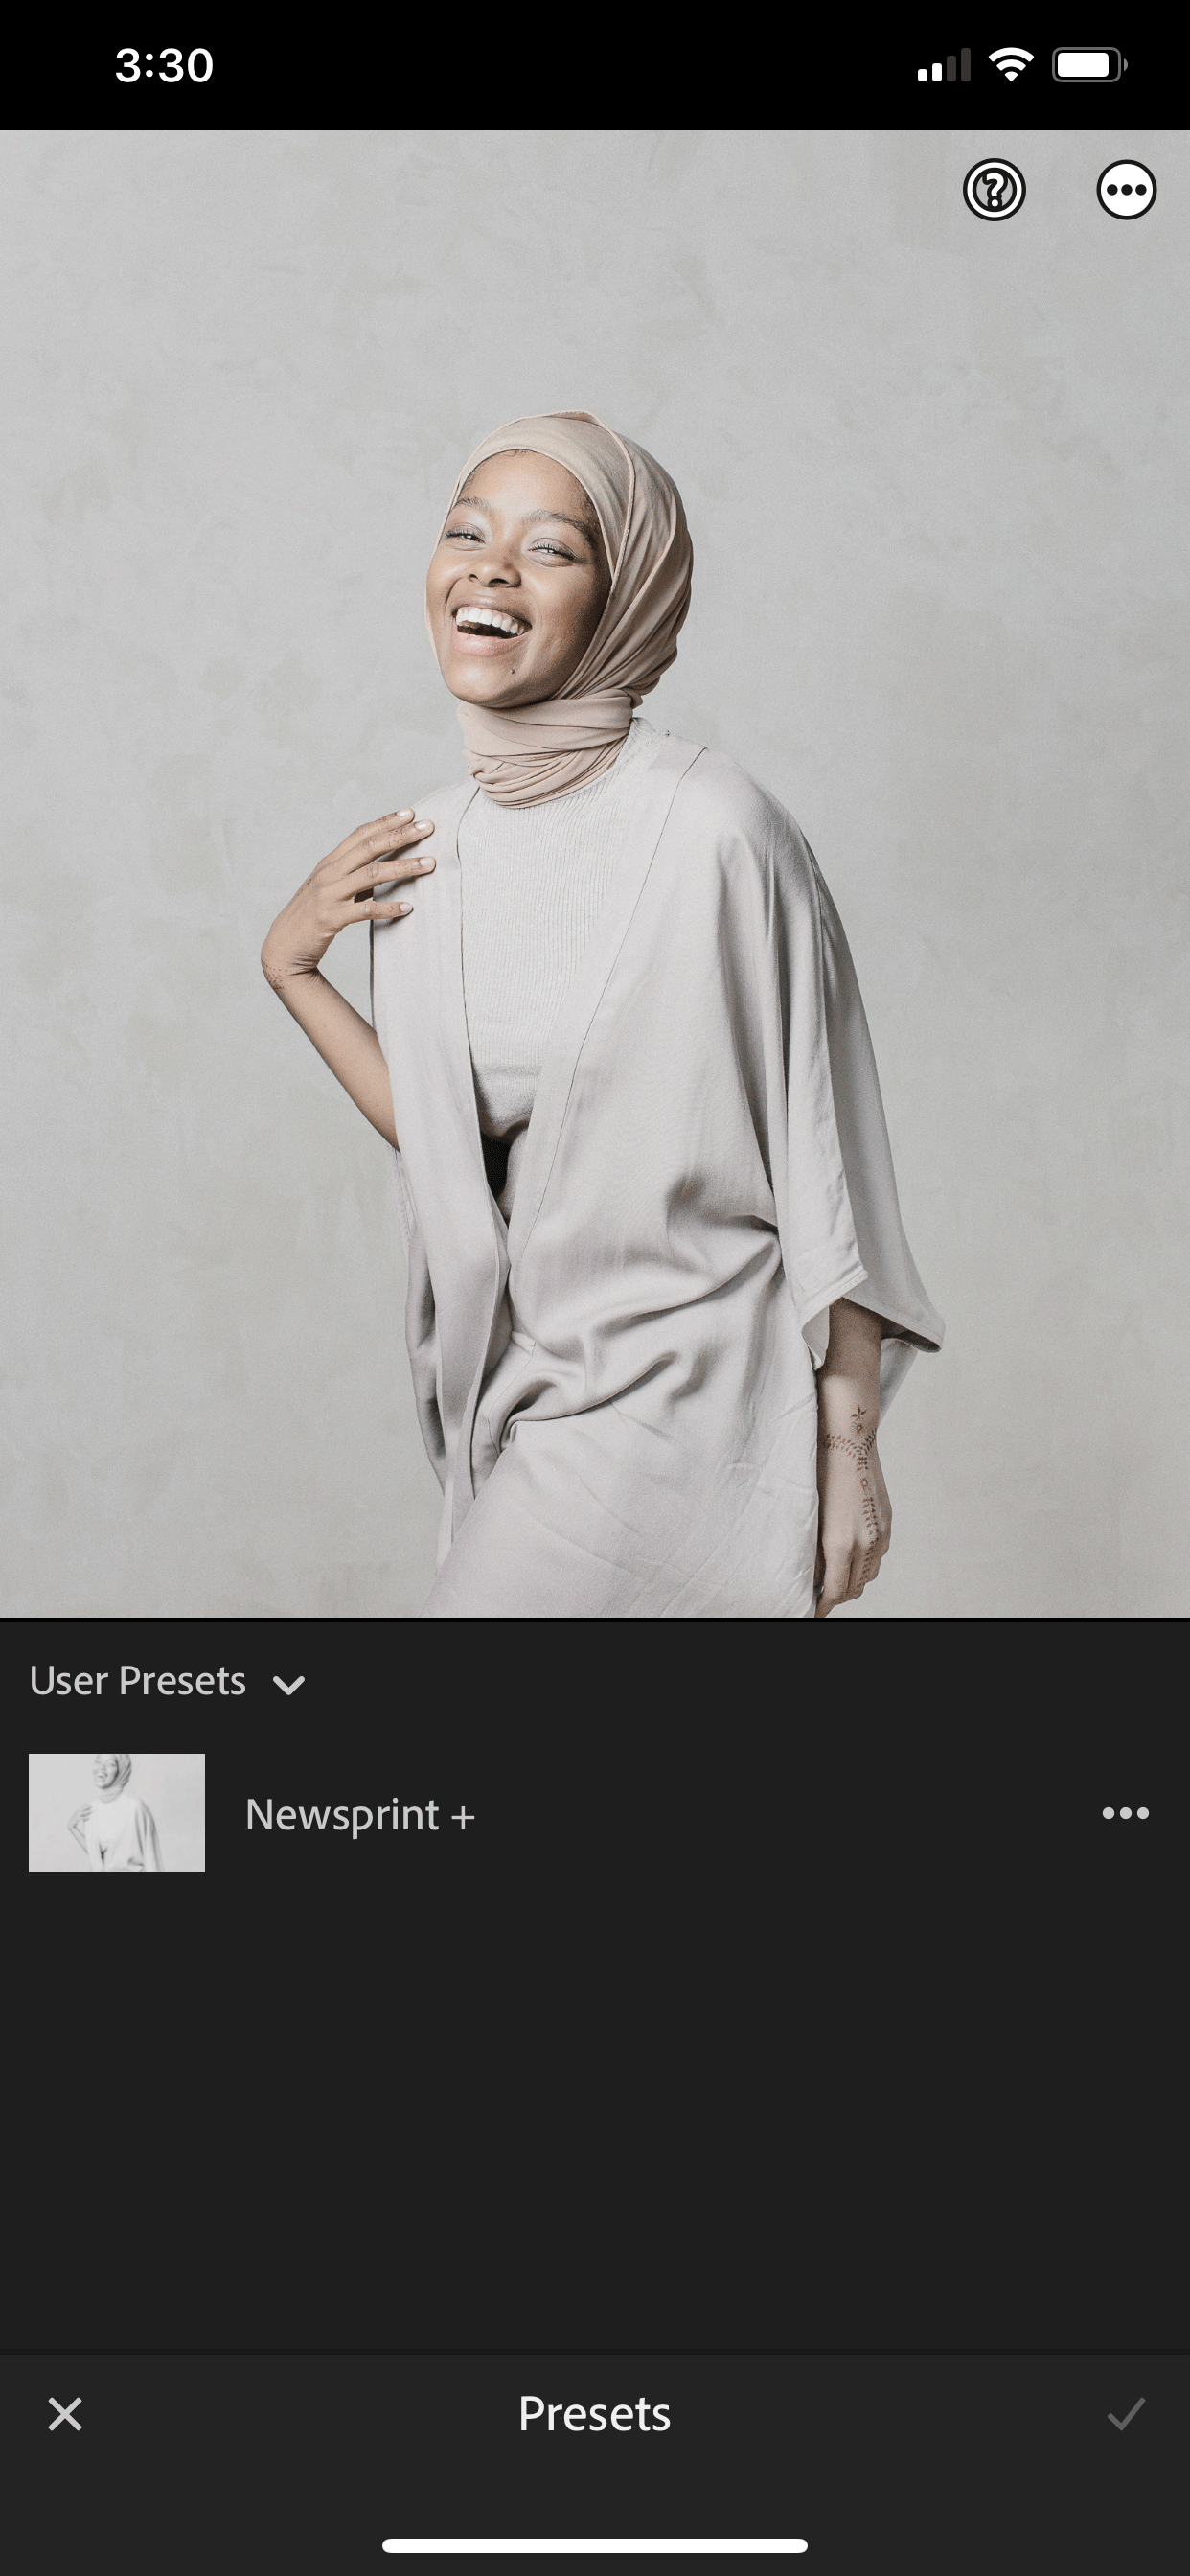
04 – Install your mobile presets.
If you have Lightroom Mobile with a CC subscription –

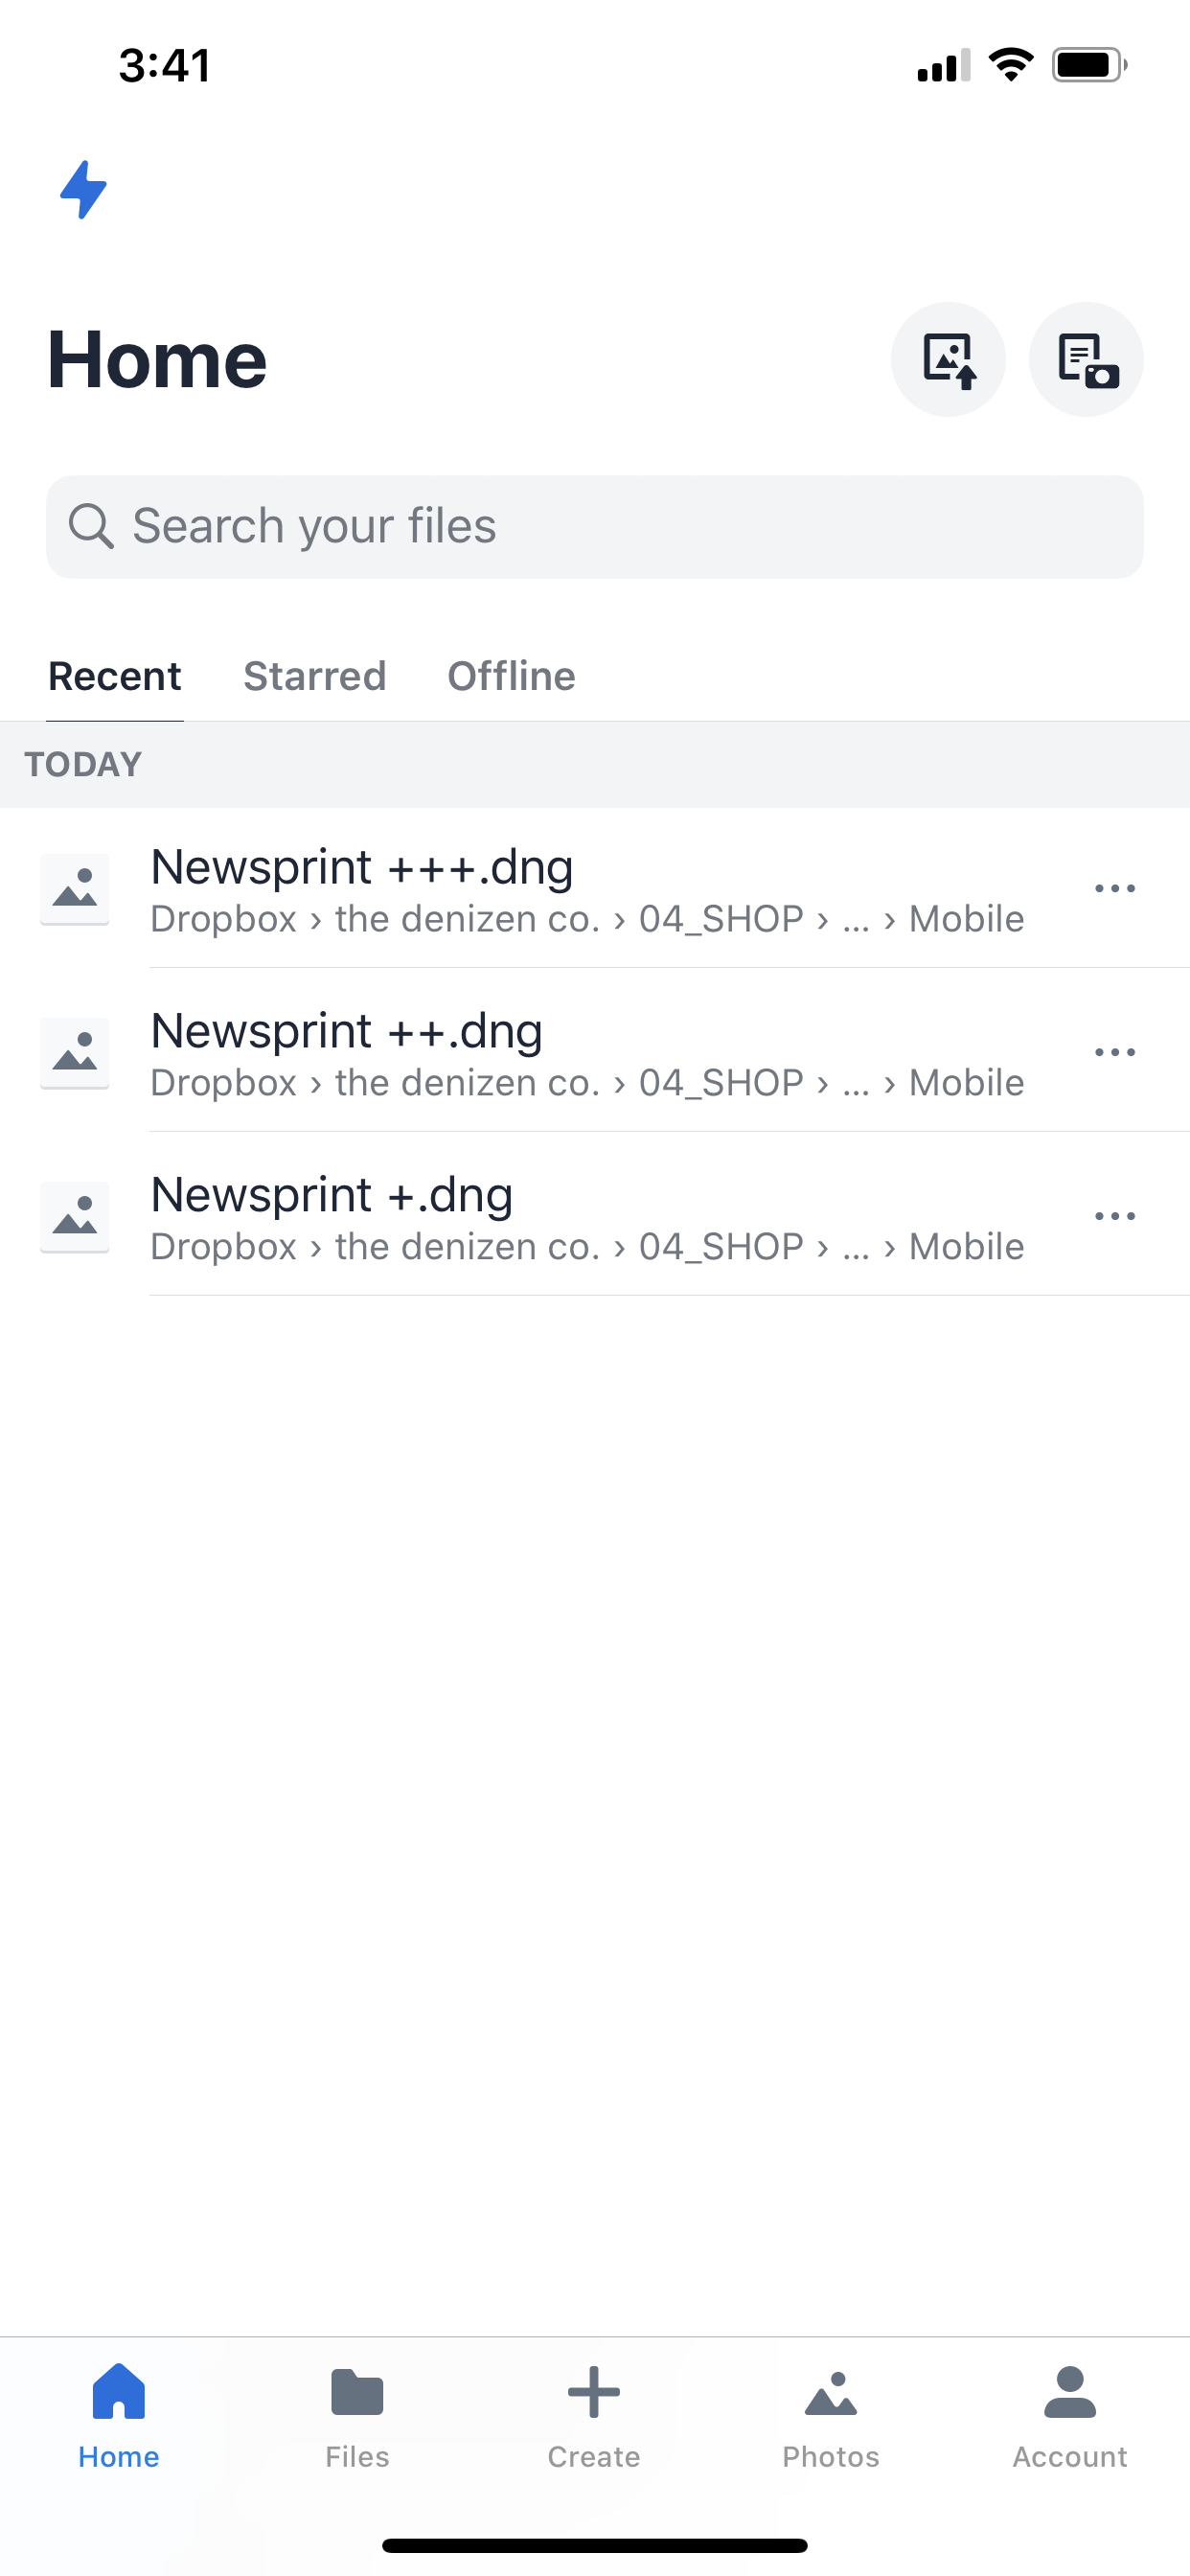
Sign up for a free Dropbox account and make sure you download the Dropbox app on your phone. On your desktop computer, locate the Mobile folder in your download and add the .dng files to your Dropbox.

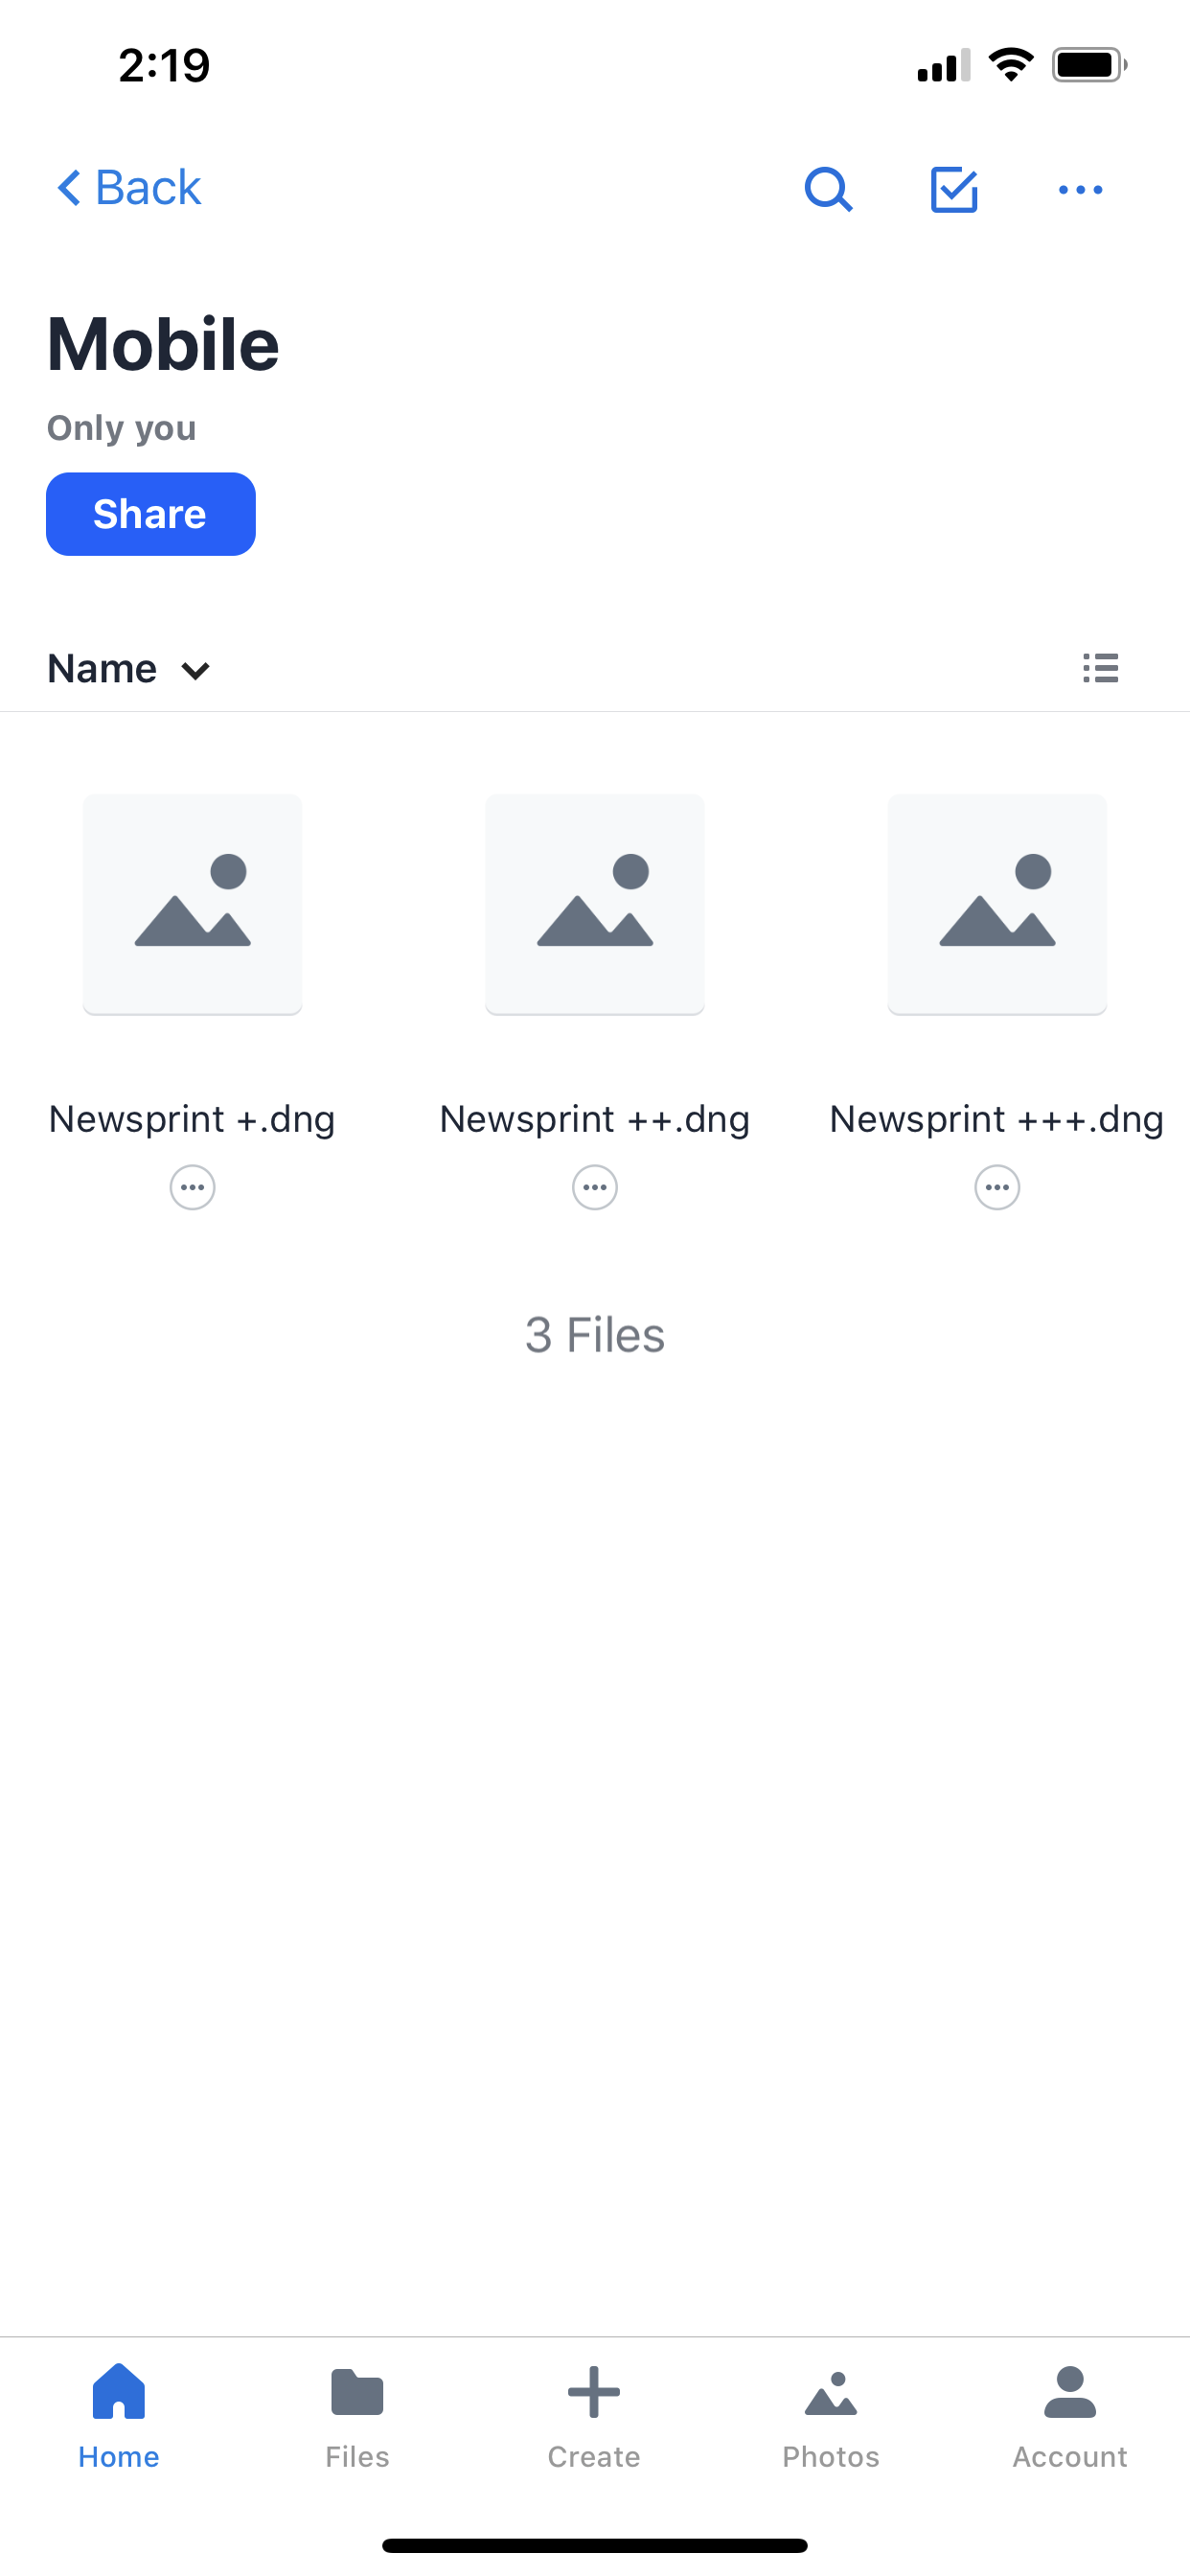
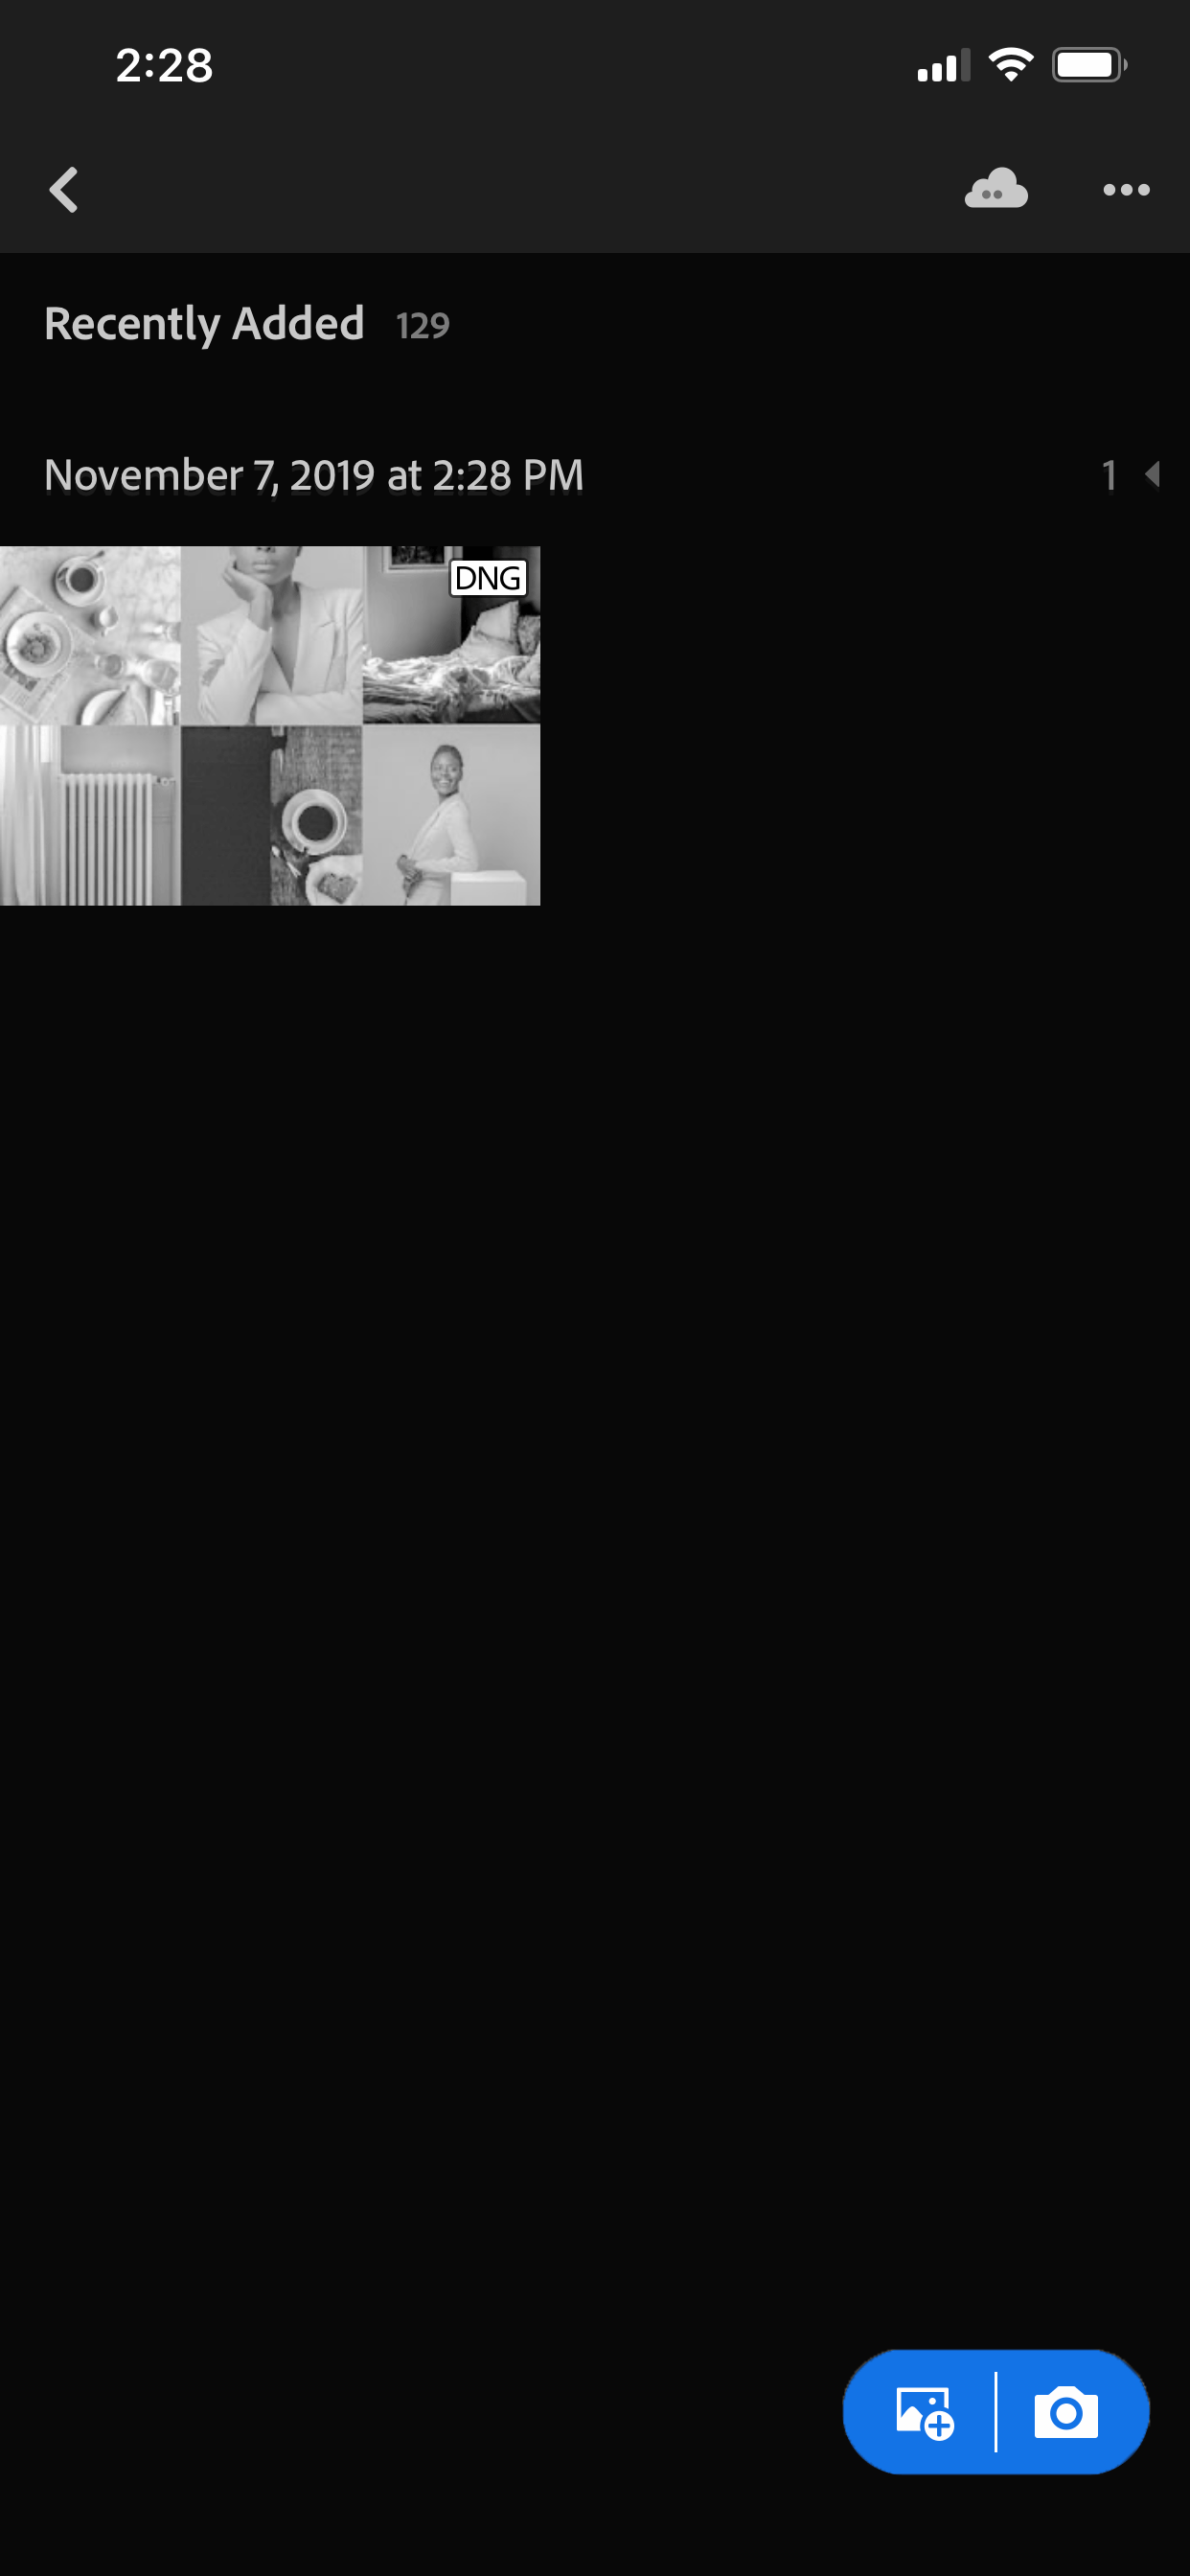
Now, we want to import these .dng files into our phone. Access the Mobile folder through the Dropbox app on your phone and click on the first .dng file. You will see a prompt saying “This file can’t be previewed”.

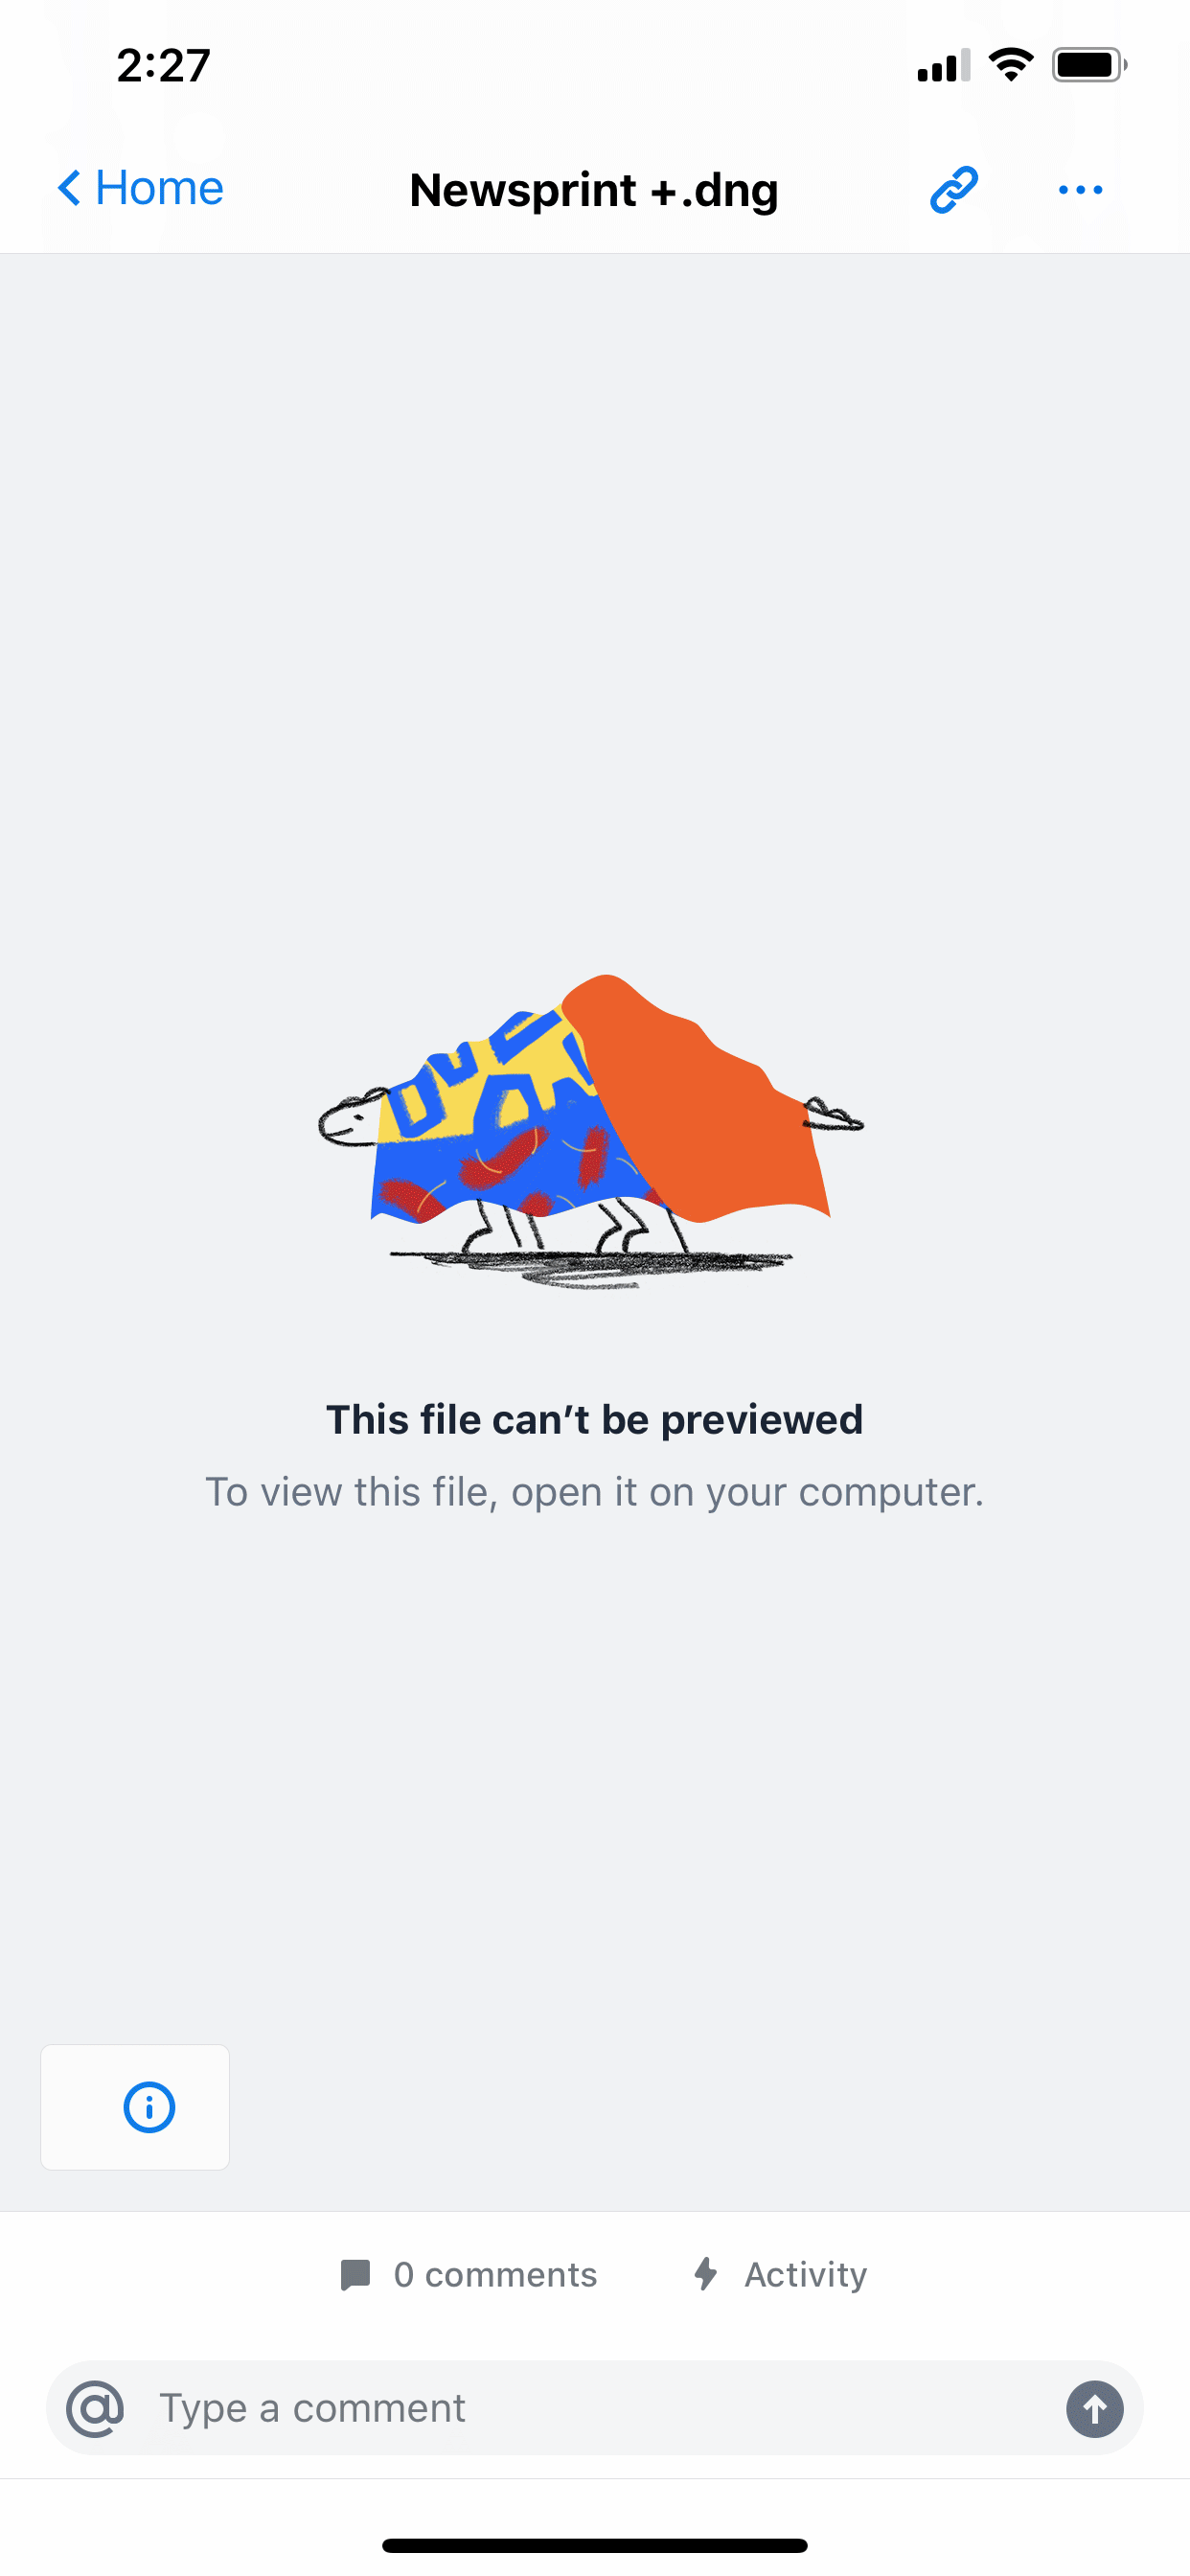
Click on the three dots on the upper right hand corner and select Export. Select Save Image. Repeat for the rest of the .dng files.


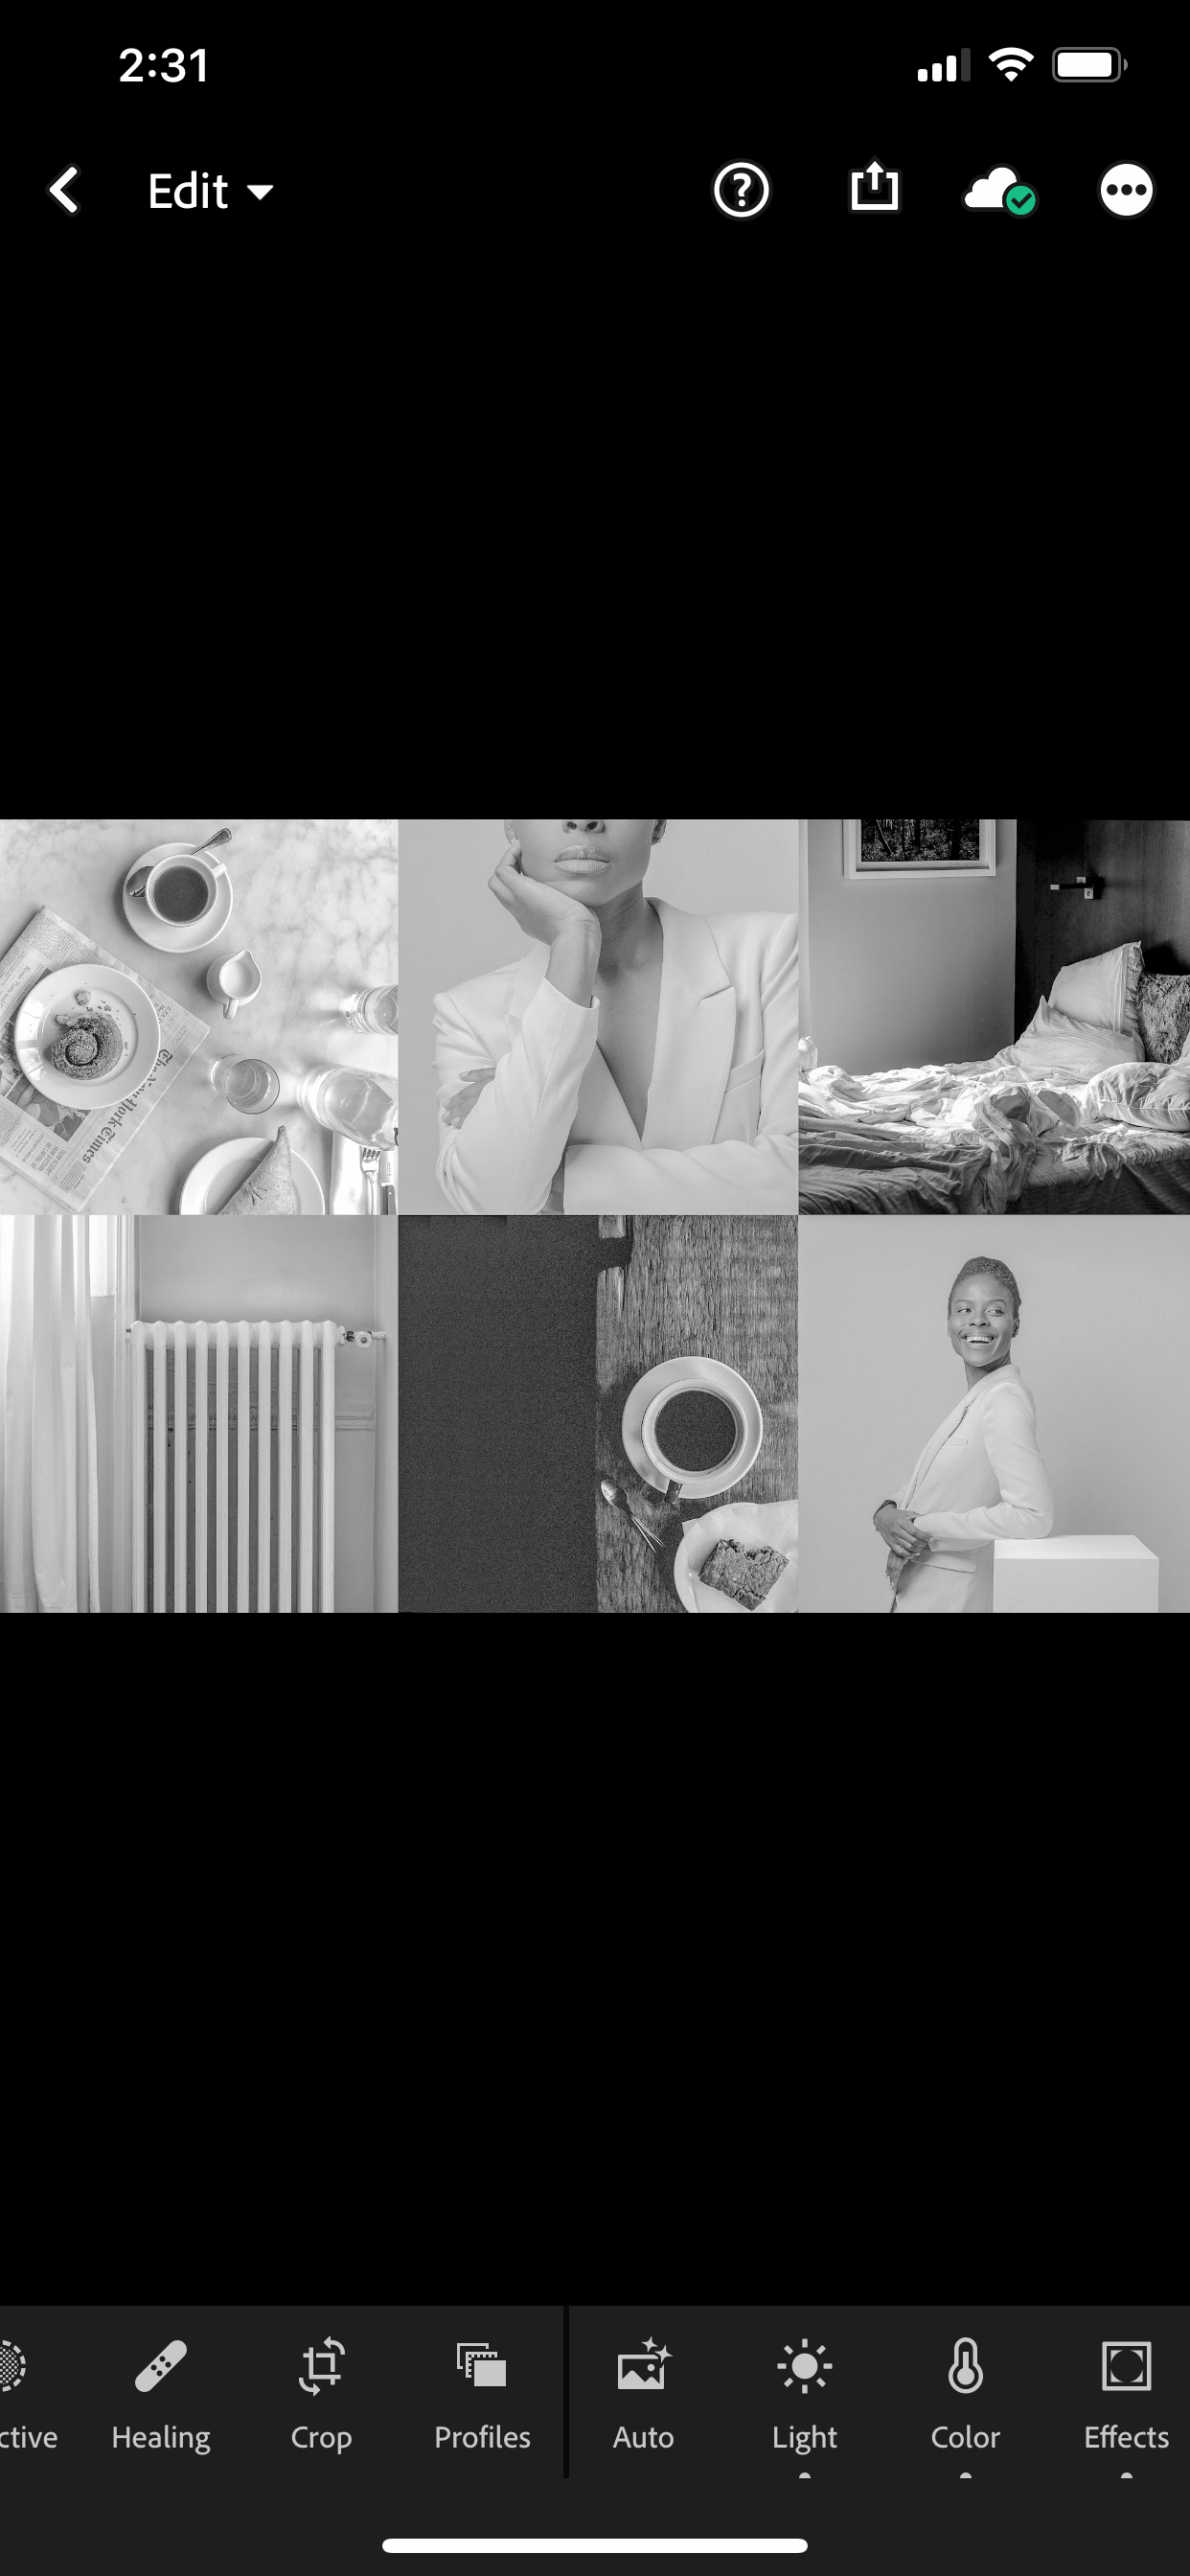
Now, open the Lightroom app. The .dng files should appear under Recently Added. If not, locate the .dng files by clicking on the blue Add Photo icon at the bottom and select From Camera Roll. Select the files. Click Add. The files have now been added to your Lightroom image library.

Now, select the first file and click on the three dots on the upper right hand corner. Select Create Preset.

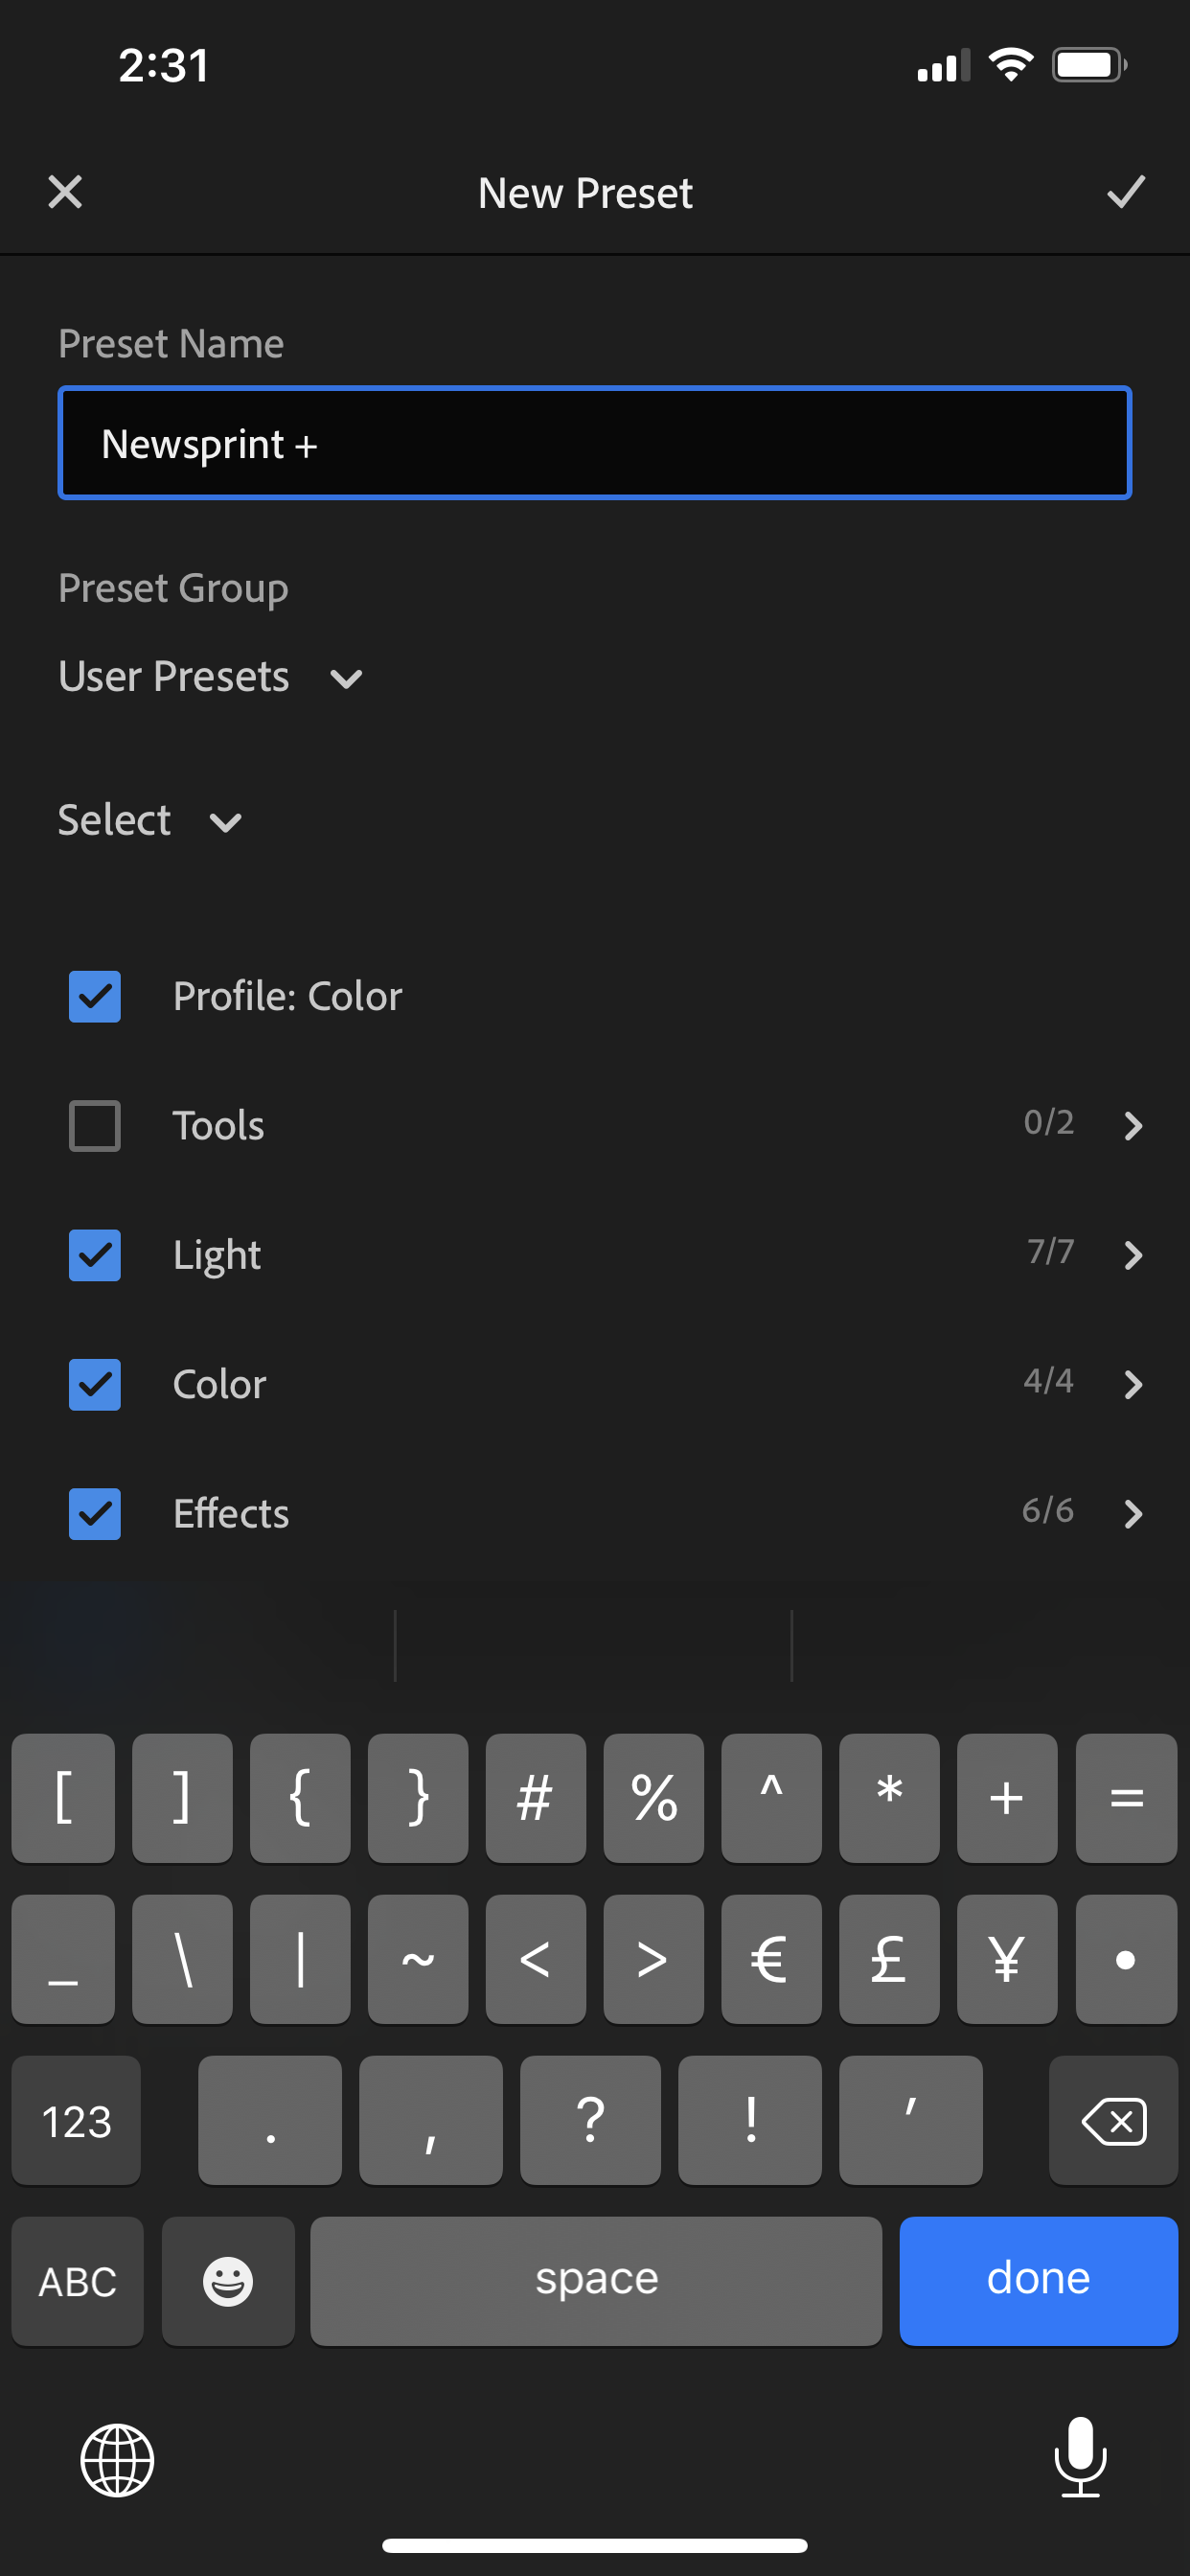
Enter a new name under Preset Name. Click the check mark on the upper right hand corner. Your preset has now been saved under User Presets. Repeat for the rest of your .dng files.

Now, let’s apply our preset to another image. Tap the back arrow and choose an image from your image library or add an image by clicking on the Add Photo icon at the bottom and selecting an image from your Camera Roll.

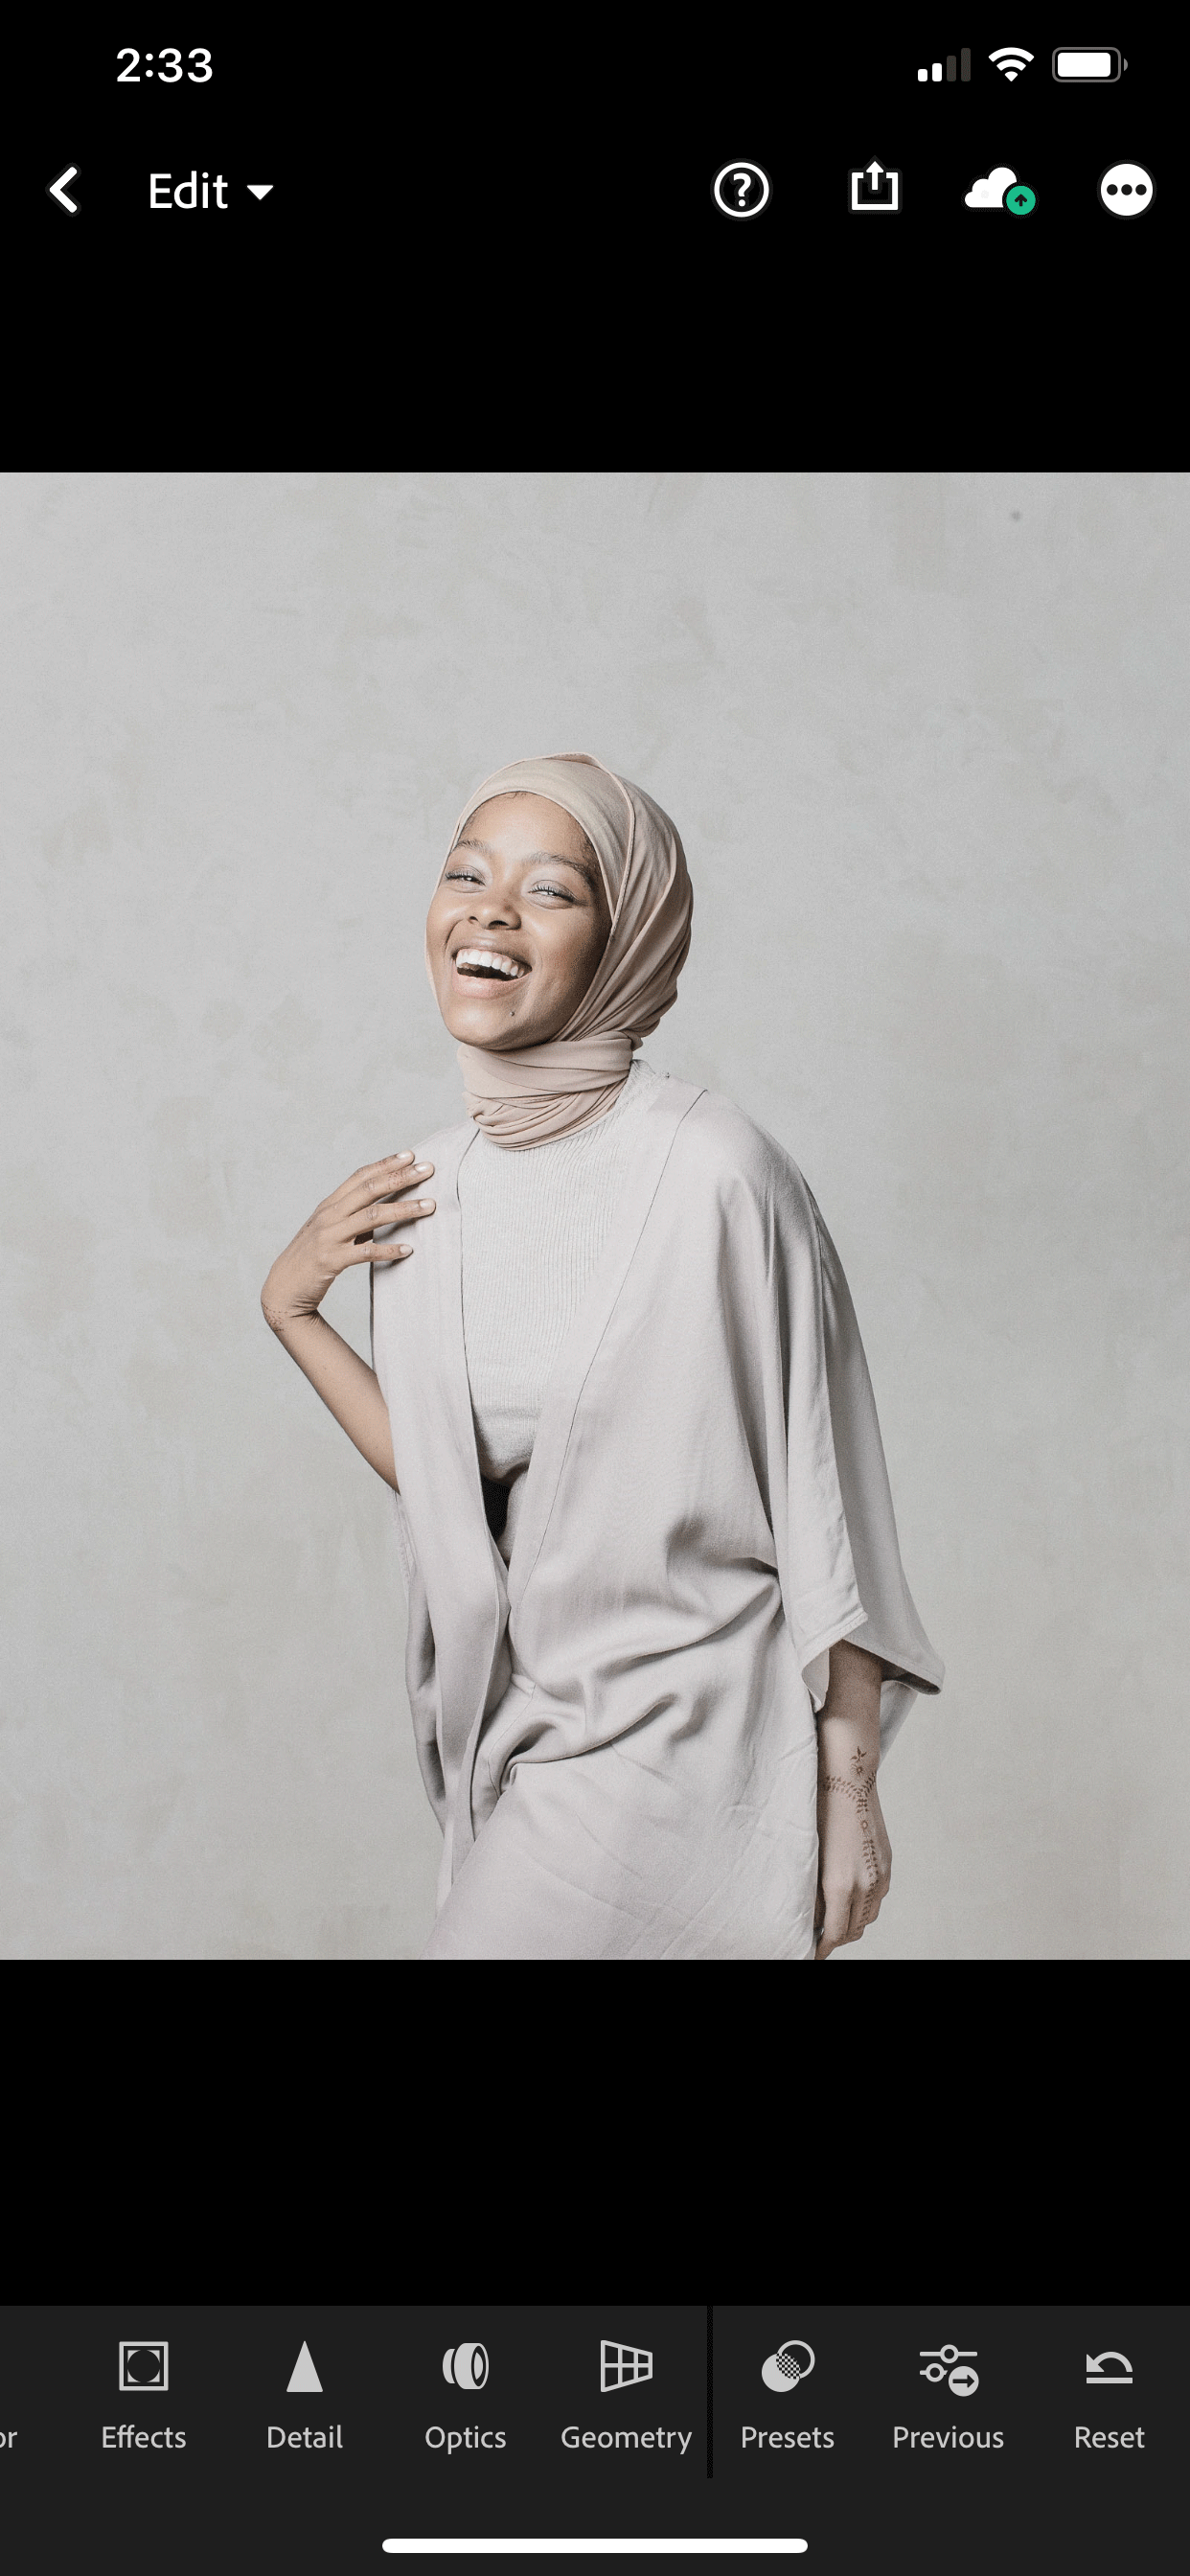
Select Presets from the bottom bar. Scroll down to User Presets. Here you will find your new preset. Tap on the preset name to apply and click on the check mark to apply the changes.
If you have Lightroom Mobile without a CC subscription –

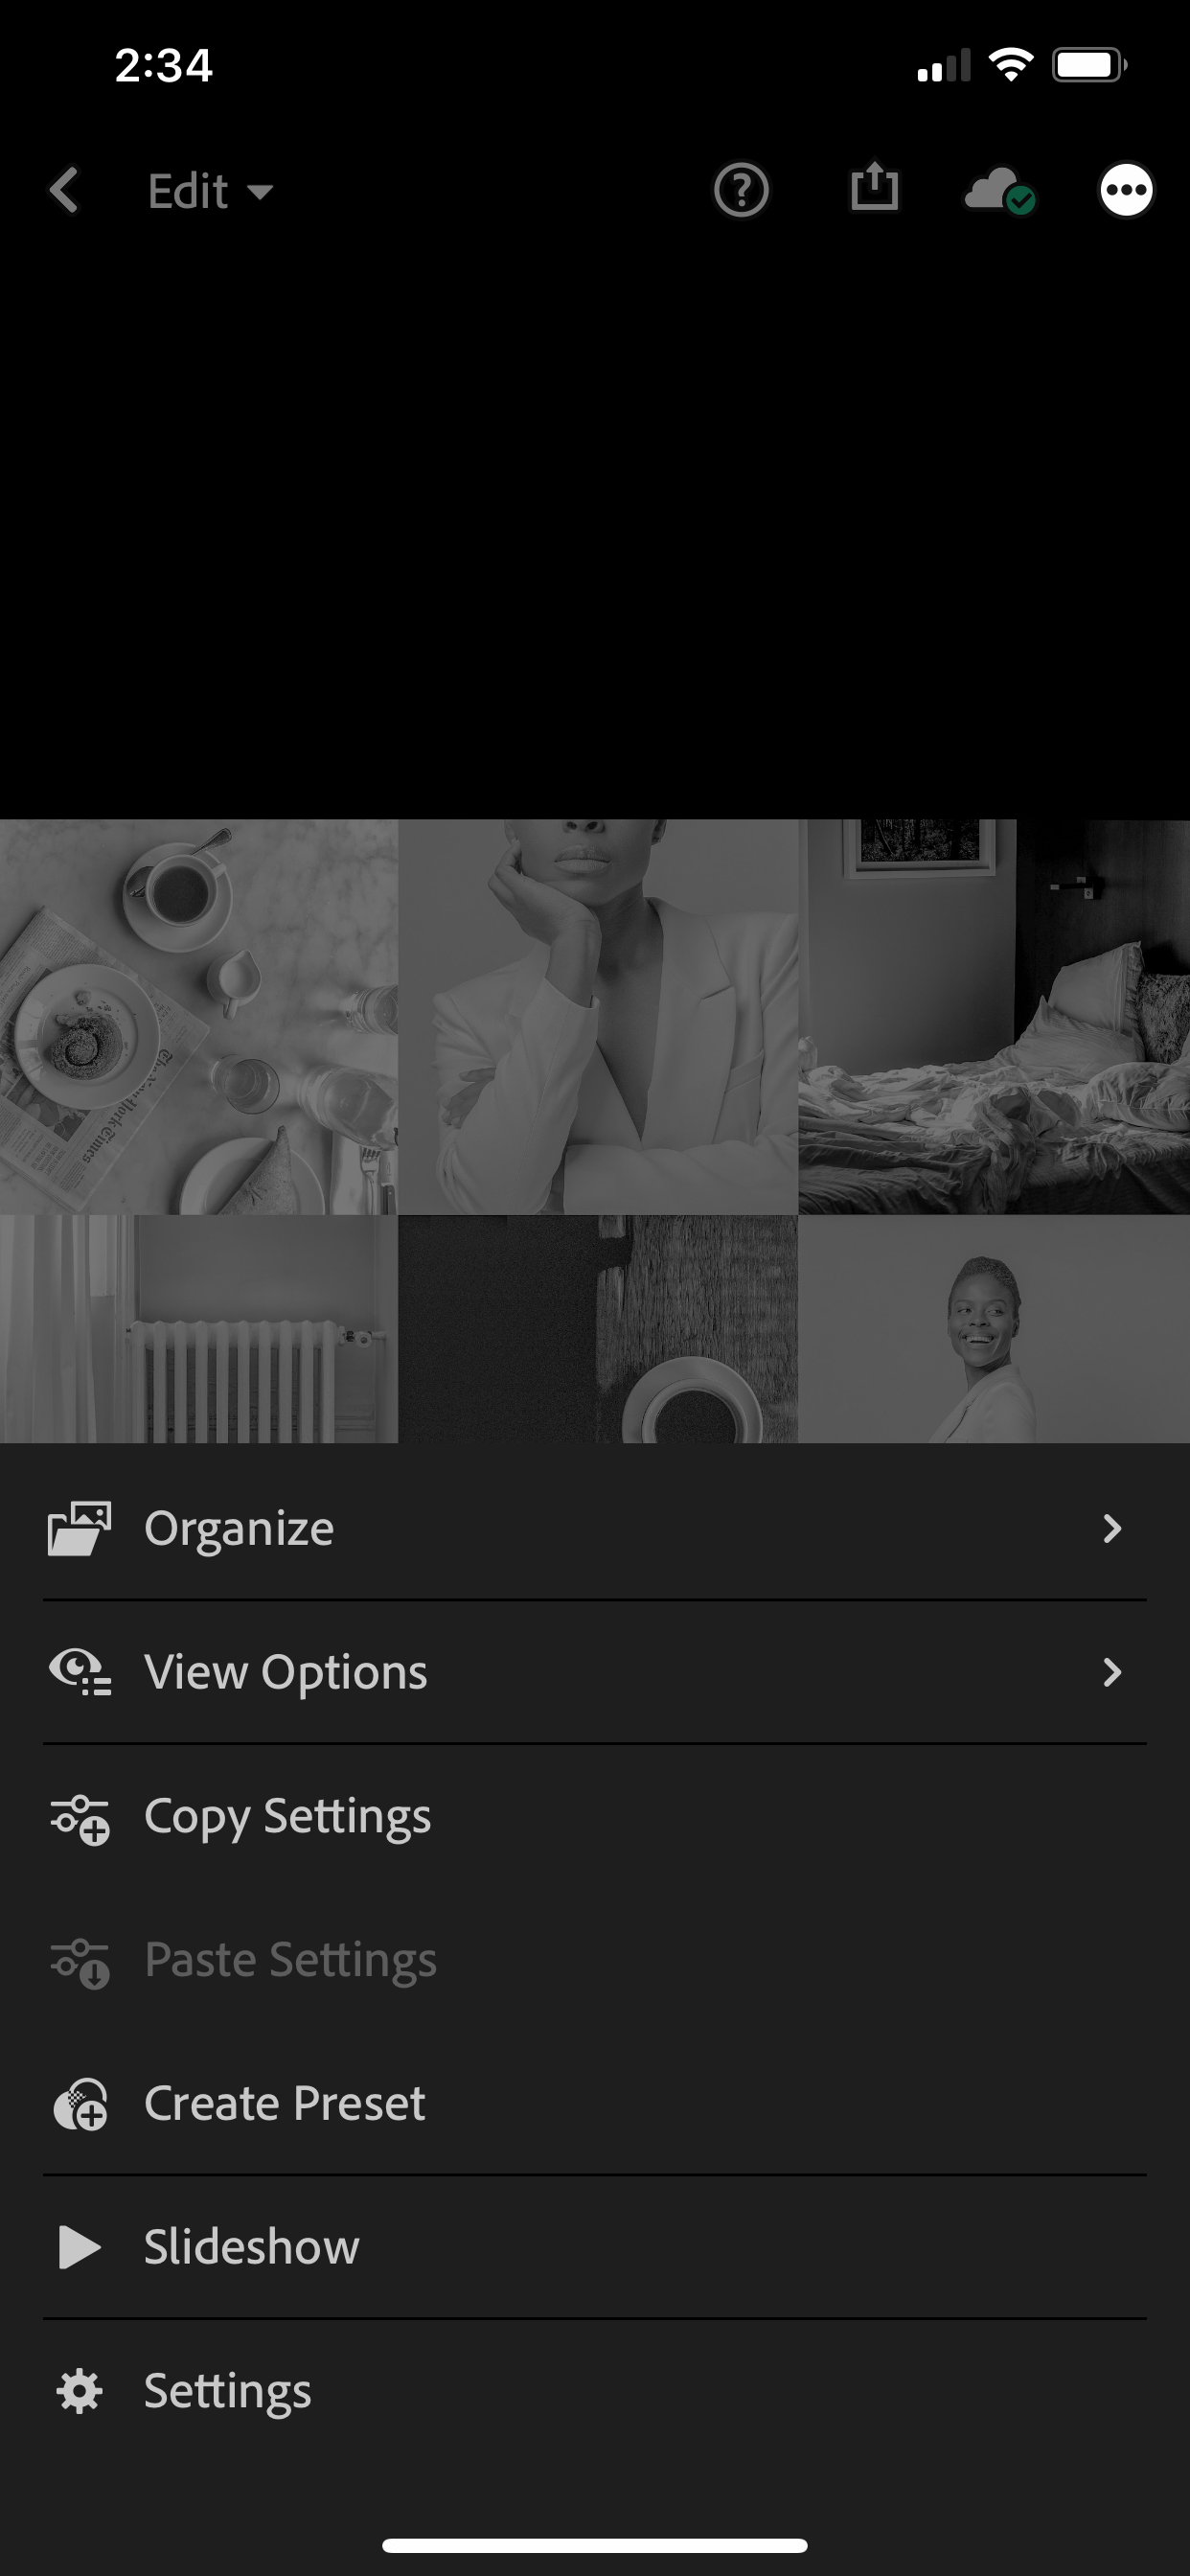
Follow steps 1-4 above. Then, select the first file and click on the three dots on the upper right hand corner. Select Copy Settings and tap on the check mark on the upper right hand corner.


Now, let’s apply these settings to another image. Tap the back arrow and choose an image from your image library or add an image by clicking on the Add Photo icon at the bottom and selecting an image from your Camera Roll.


Select the image and click on the three dots on the upper right hand corner. Select Paste Settings. You’ve applied the preset to your image.

Each time you’d like to use this preset, locate the .dng file, select Copy Settings, and paste it on the images that you would like to apply them on.
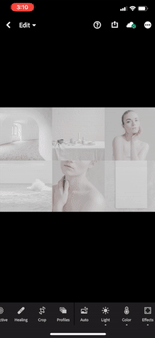
05 – Make your final adjustments.
Every photo is different. While our presets are designed to provide a good foundational edit, some of your images may need to be tweaked afterwards. After applying the preset, it is always a good idea to adjust the exposure and color temperature of your image. Here’s how:
For desktop –

Exposure
Adjust the exposure by moving the Exposure lever on the right-hand panel in Develop mode.
Color Temperature
Adjust the color temperature by moving the Temp lever on the right-hand panel in Develop mode.
For mobile –
Exposure
Adjust the exposure by selecting Light from the bottom panel and moving the Exposure lever to your desired value.
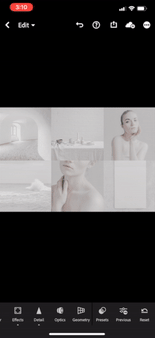
Color Temperature
Adjust the color temperature by selecting Color from the bottom panel and moving the Temp lever to your desired value.
Have any questions?
We’re here to help. Please email us at hello@thedenizenco.com.